This tutorial will teach you how to install Lightroom mobile presets and use them correctly! So, if you are reading this guide, you have probably already bought a collection of our presets. If you haven’t done it yet, you can download all our collections by clicking here. All of our presets are designed for all styles also perfect for skin tones, selfies, lifestyle, indoors and outdoors situations. Additionally, each collection boasts presets for both the desktop and mobile versions of Lightroom. In this guide, we will focus on how to install presets and use them on the free “Lightroom CC” mobile app. It’s easier than you think!
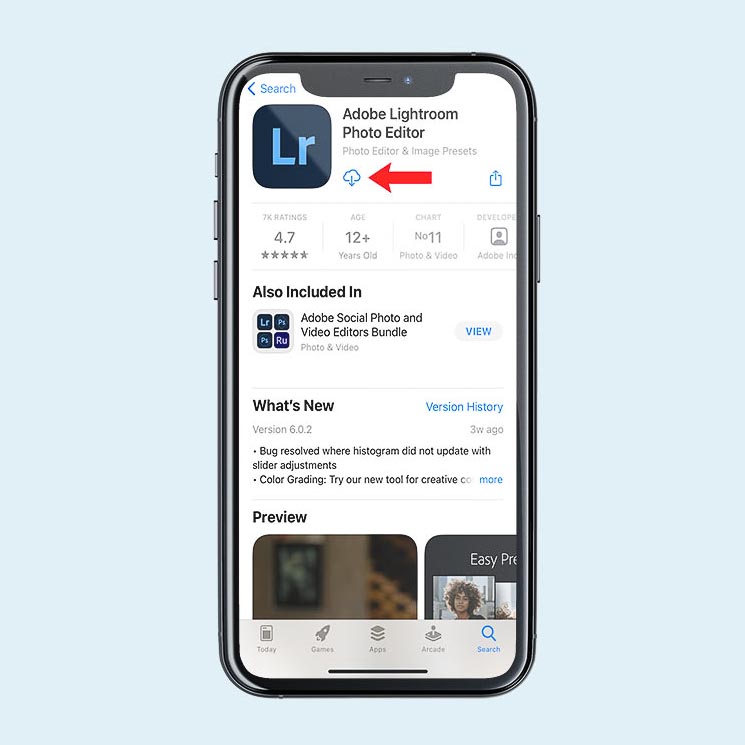
1. DOWNLOAD THE LIGHTROOM CC APP
The first thing to do is to download the Lightroom CC app on your iPhone or Android. For convenience, we will show you the process on our iPhone. However, it’s the same even if you have an Android. Remember that the app is free but you still need to register.
2. TRANSFER PRESETS TO YOUR PHONE
When you download a collection, you will get a ZIP file. If you have a computer, you can unzip the file with double click and you will get a folder with the same name. As well as you can download the ZIP file and unzip it directly on your iPhone or Android mobile. The mobile presets are DNG files. You can easily transfer them from the computer to your phone via AirDrop, Dropbox, iCloud Drive or any other transfer method you prefer.
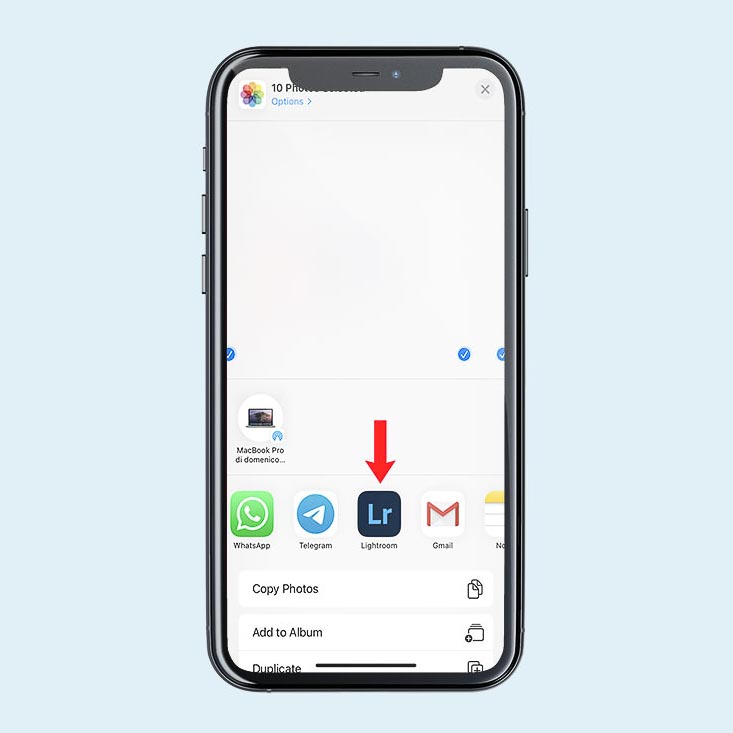
3. IMPORT PRESETS TO THE APP
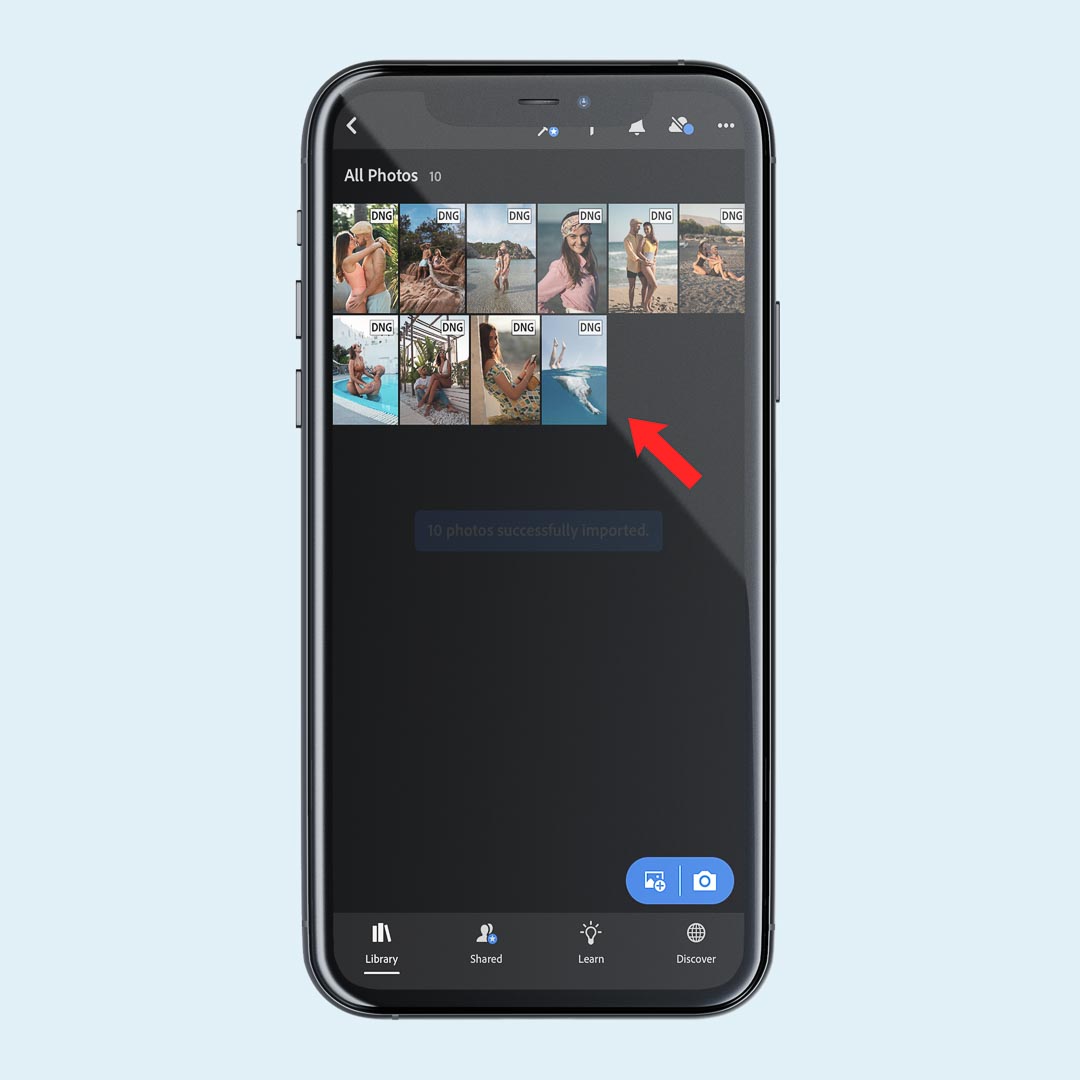
Now, you will find all your DNG files in the camera roll. However, don’t be surprised that the files just look like blank pictures or unedited on your phone. It will change once you upload them into the app. Simply select them all and share by selecting Lightroom app. You can also launch the app directly.

4. CREATE AND SAVE PRESETS
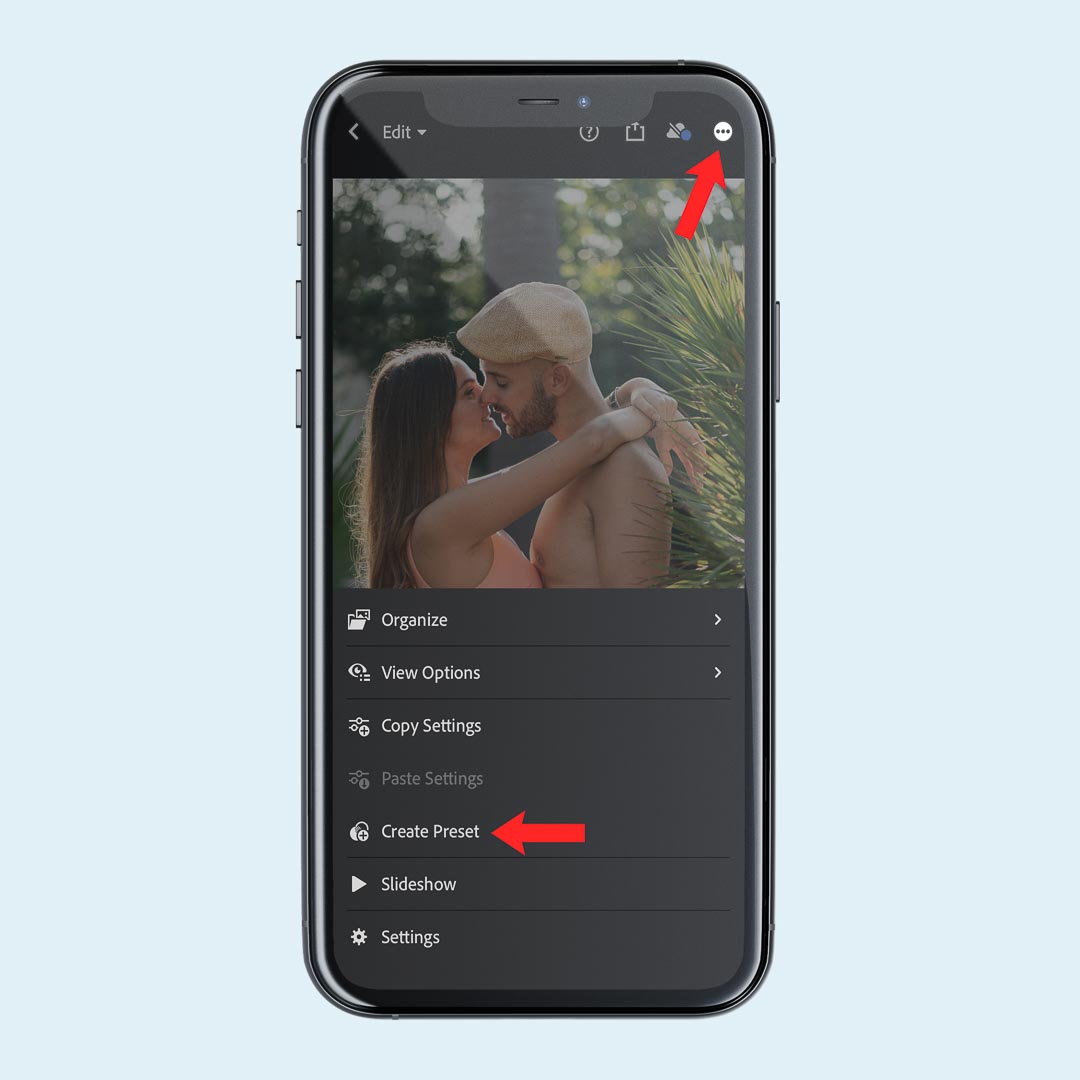
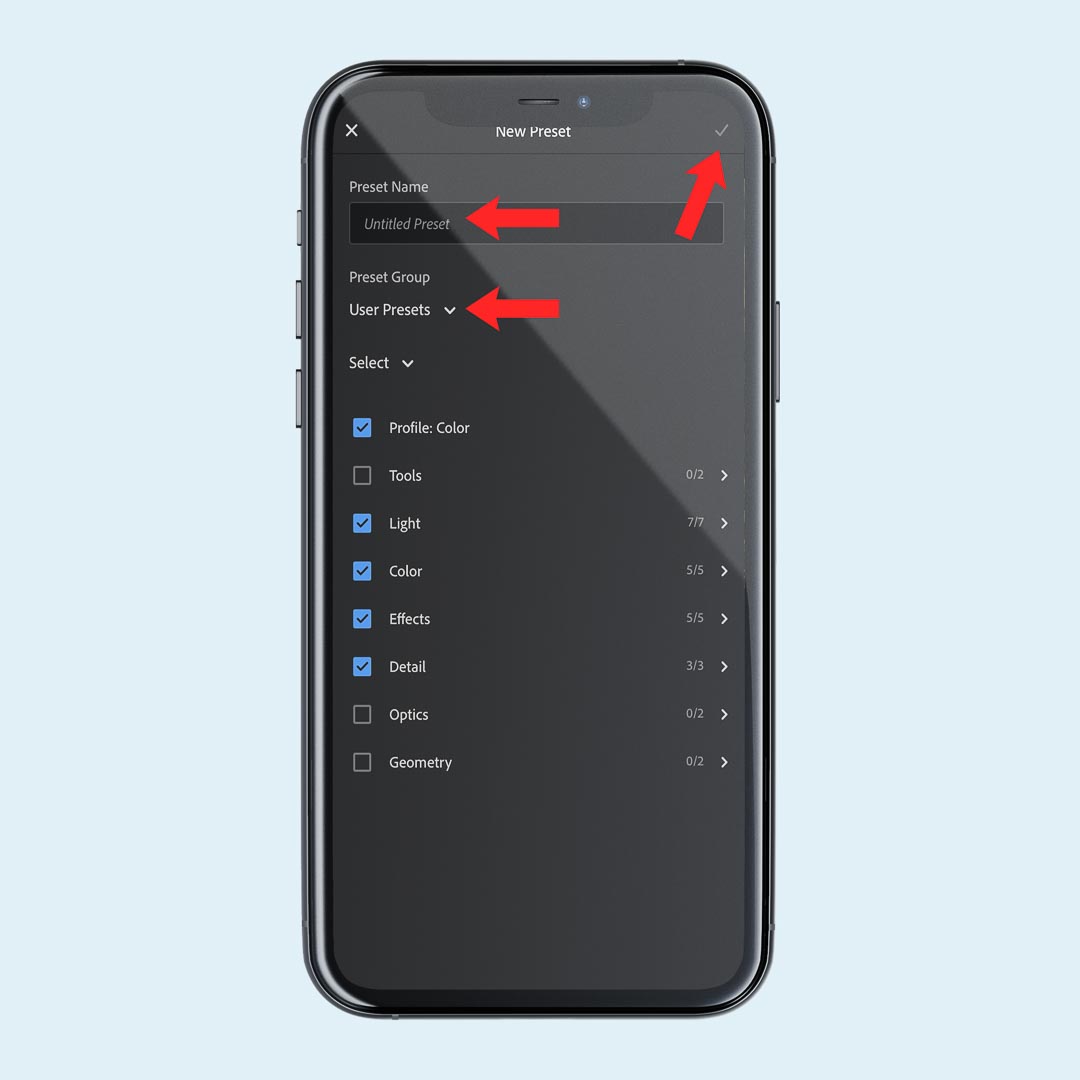
At this point, you should have all the DNG files imported to Lightroom CC. So you can select one of them and open it. Then click the three dots on the top right and select “Create Preset”. So in the “New Preset” screen give the name to the preset and put it in a folder with the same name as the collection you bought. This is not necessary but we highly recommend it to keep everything organized. When you’re done with the settings save your preset by tapping on the checkmark icon at the top right corner.
After saving the preset repeat the operation for each DNG so as to have all the presets in the folder ready to be used. It sounds more complicated than it actually is because it’s super easy and fast!
5. EDIT YOUR PHOTOS
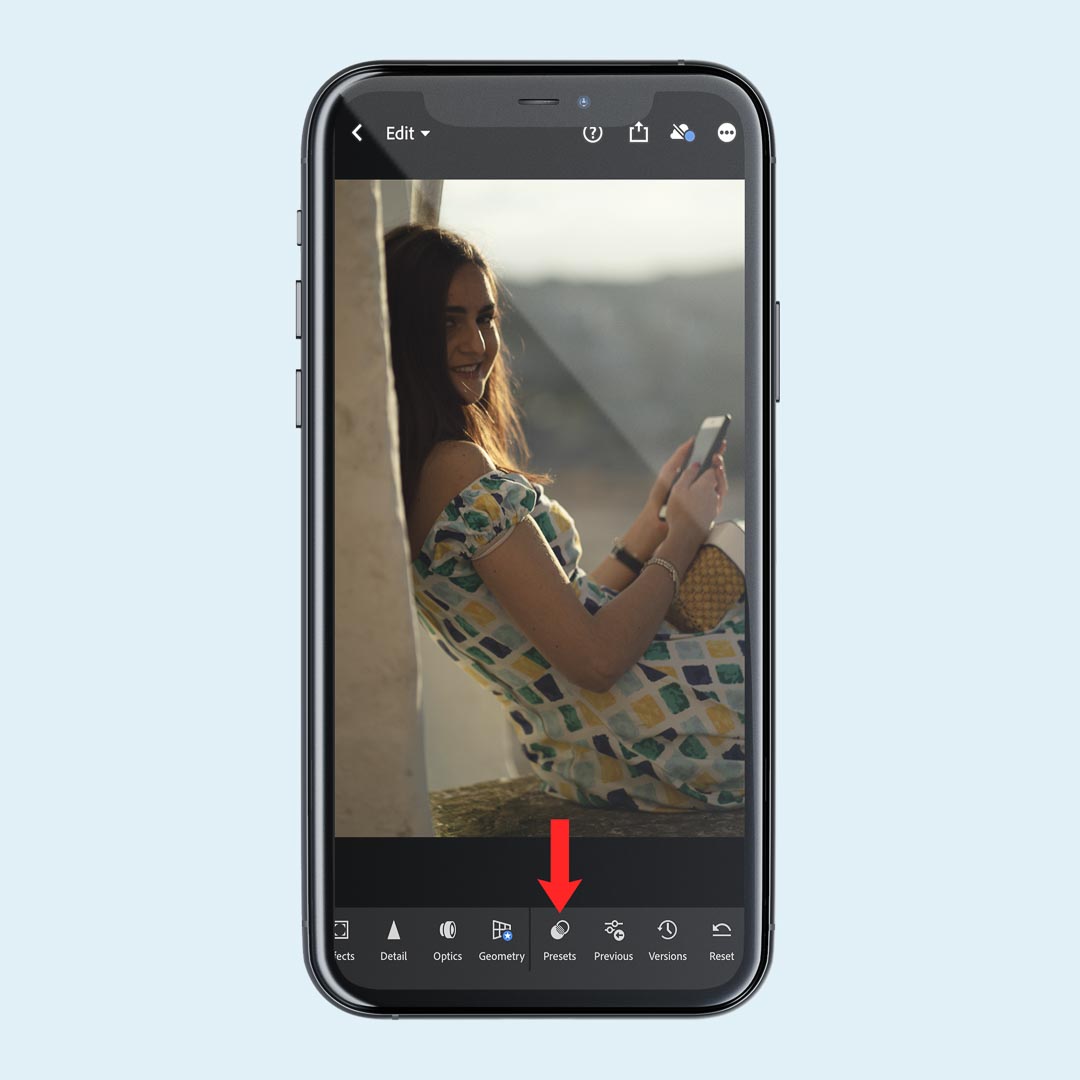
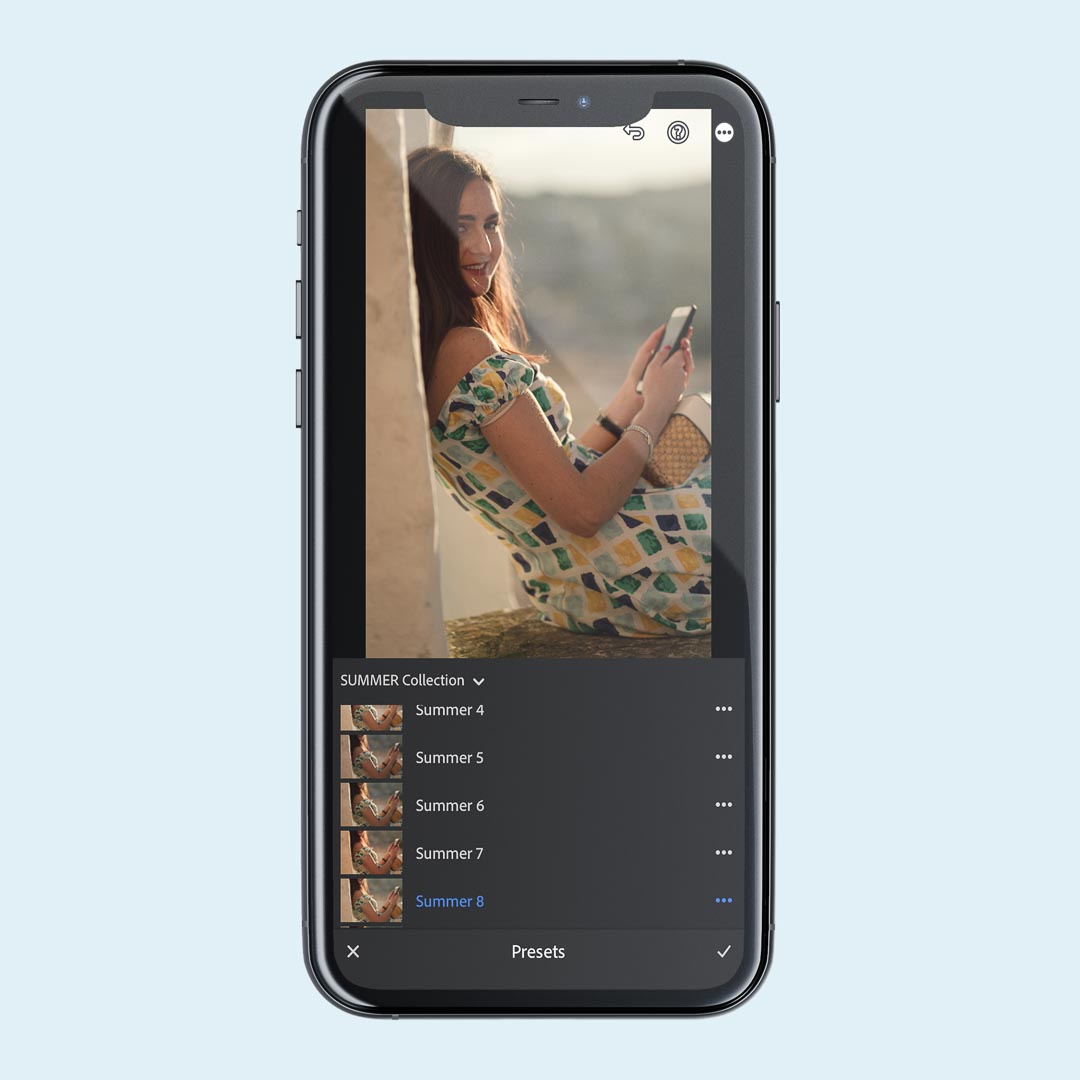
Now the fun begins and you are ready to edit your photos! Upload the picture you want to edit and click on “Presets”. You will find in the folder you created all the presets you have saved.
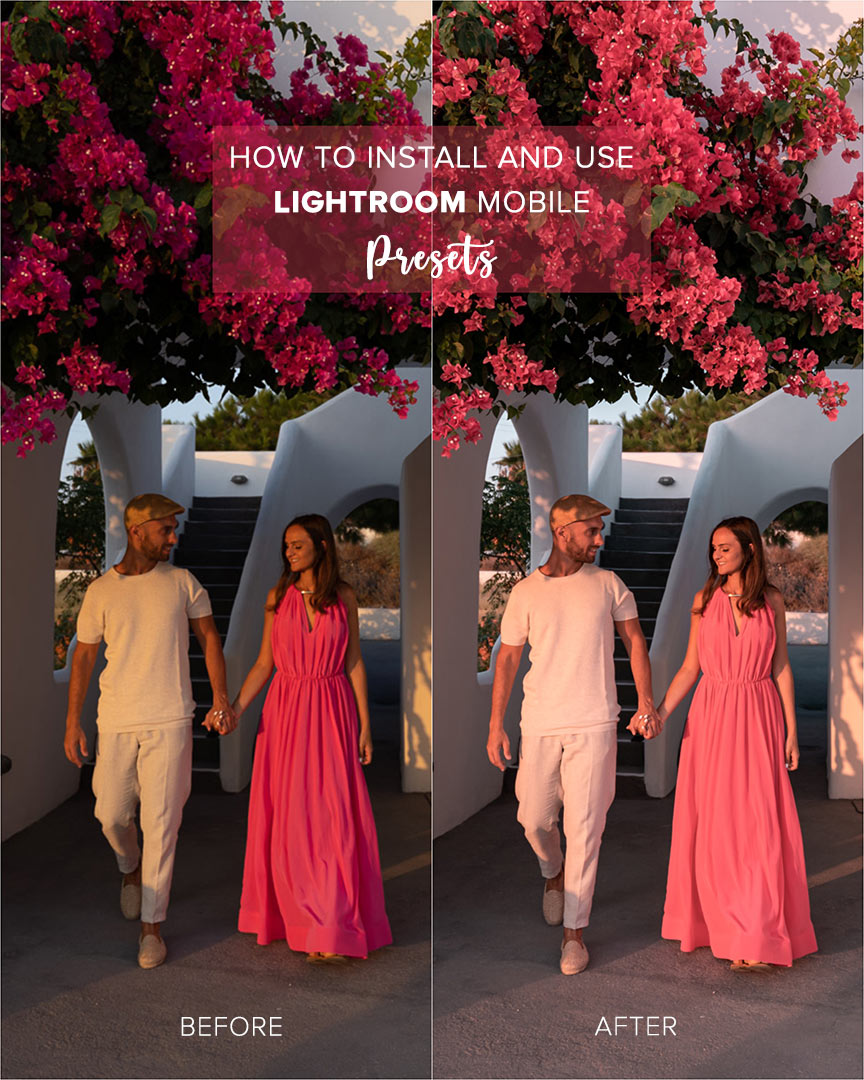
If you use our presets, tag @weloveourpresets in the photo or in the caption and use our hashtag #weloveourpresets to get featured on our page!
These are some examples of BEFORE and AFTER using our presets. Definitely let us know afterwards how you like them. Also, we would love to see your before and after pictures after using our presets. So please send them to us via Instagram DM or share them on Instagram @weloveourpresets and use #weloveourpresets.